
Inspiration and Prototype Research
Why I Hand-Paint My 3D-Printed Side Frames (Even When I Have an Airbrush)
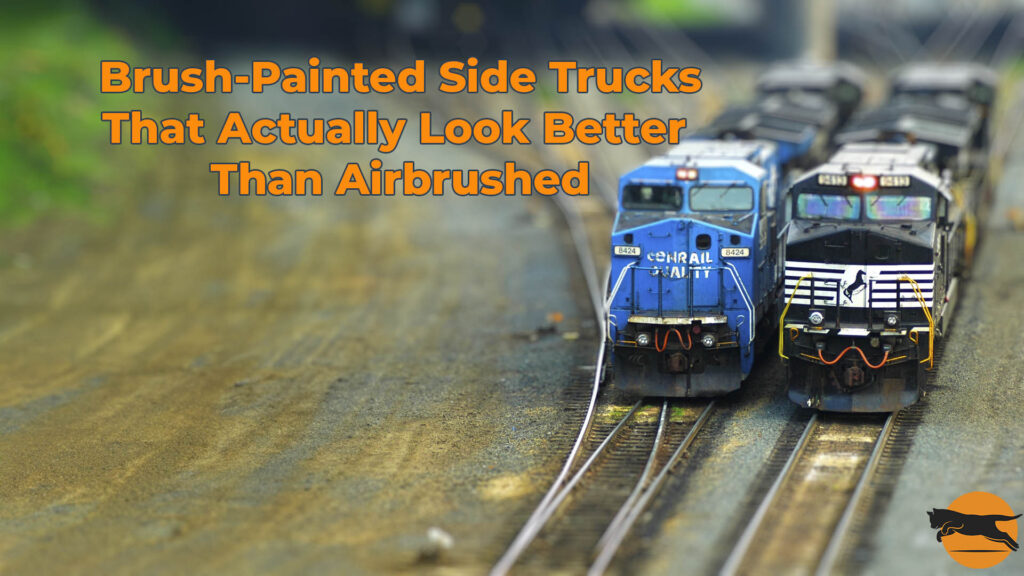
Table of Contents
Real Words, Just Polished with a Little Help
Note: I used AI to help turn the transcript of my latest video into this blog post. The words and ideas are mine—I just got a little help organizing them and cutting out the fluff for those of you that are in a rush and to help search engines find me.
Why I Hand-Paint My 3D-Printed Side Frames (Even When I Have an Airbrush)
Hey folks, Jamie here. If you’ve ever looked at a set of freshly printed side frames and thought, “Hmm, a little too perfect,” you’re not alone. In today’s post, I’m walking you through why I hand-paint my 3D-printed roller bearing side trucks for my Florida East Coast SW1200 switcher. It’s part technique, part preference—and 100% about giving your models some texture and life.
So here’s the scoop—I picked up this SW1200 for 20 bucks at a thrift shop. It’s a Florida East Coast unit, and I’ve been slowly upgrading it. One of the tweaks I’ve been itching to make was swapping out the old friction-bearing trucks for 3D-printed roller bearings. Not just for function, but for looks. The friction-bearing trucks just didn’t look right under that little workhorse.
Now, I do own an airbrush. And I like it. But let’s be honest: sometimes dragging everything out to the garage just isn’t worth it, especially when you’re only painting a few small parts. That’s where the humble paintbrush shines.
I clipped each 3D-printed side frame onto one of those handy alligator clip sticks—you can find these at Michael’s, Hobby Lobby, or just online. They’re perfect for holding small parts while painting.
For paint, I used a primer black acrylic I already had mixed up. I keep mine in dropper bottles for easy access. A few drops in a tray, and I’m good to go.
And yep—I used a cheap plastic brush. Nothing fancy. I know myself too well to invest in expensive brushes I’ll probably wreck. This one was a number two brush, and I just worked slowly, brushing the paint on in smooth motions, letting it flow into the nooks and crannies without globbing it on.
Once the top side dried, I flipped the piece over and did the bottom. The back doesn’t need much—just a quick coat so it blends into the shadows. Pro tip: don’t paint inside the axle holes or the little mount that plugs into the locomotive shell. That stuff needs to stay paint-free to work properly.
After I finished the first two frames, I gave the first one a second light coat on top, then moved on to the second pair. And let me tell you—there’s something satisfying about watching those matte black frames come to life with just a few brushstrokes.
Now, here’s why I go this route instead of airbrushing: 3D prints, especially in resin, come out almost too smooth. They can feel a little sterile. When I hand-brush the paint, it leaves just enough texture—some subtle brush marks—that gives the part a bit of grit and character. Perfect for sand trucks on a well-used switcher.
And that’s it for today. Next time, we’ll start pulling the old side frames off the 1200 and installing these freshly painted ones. I think they’re going to look just right.up. If you accidentally pick up a tiny part, you can retrieve it easily—no hunting through carpet fibers.
What’s Next?
If you’re digging these hands-on posts, be sure to subscribe to the newsletter so you don’t miss the next installment. Got a favorite technique for painting small parts—or a 3D-printing tip to share?