
Inspiration and Prototype Research
Restoring and Upgrading a Proto 2000 SW900 – The KNR 90 Rebuild – Painting
Table of Contents
In this installment of the KNR 90 Rebuild series, I walk through the painting process—from prepping the body shell to locking in the final colors. Whether you’re new to airbrushing or just getting back into the hobby, this post is for you.
Restoring and Upgrading a Proto 2000 SW900 – The KNR 90 Rebuild – Painting
Now we come to the fun part—painting the KNR90.
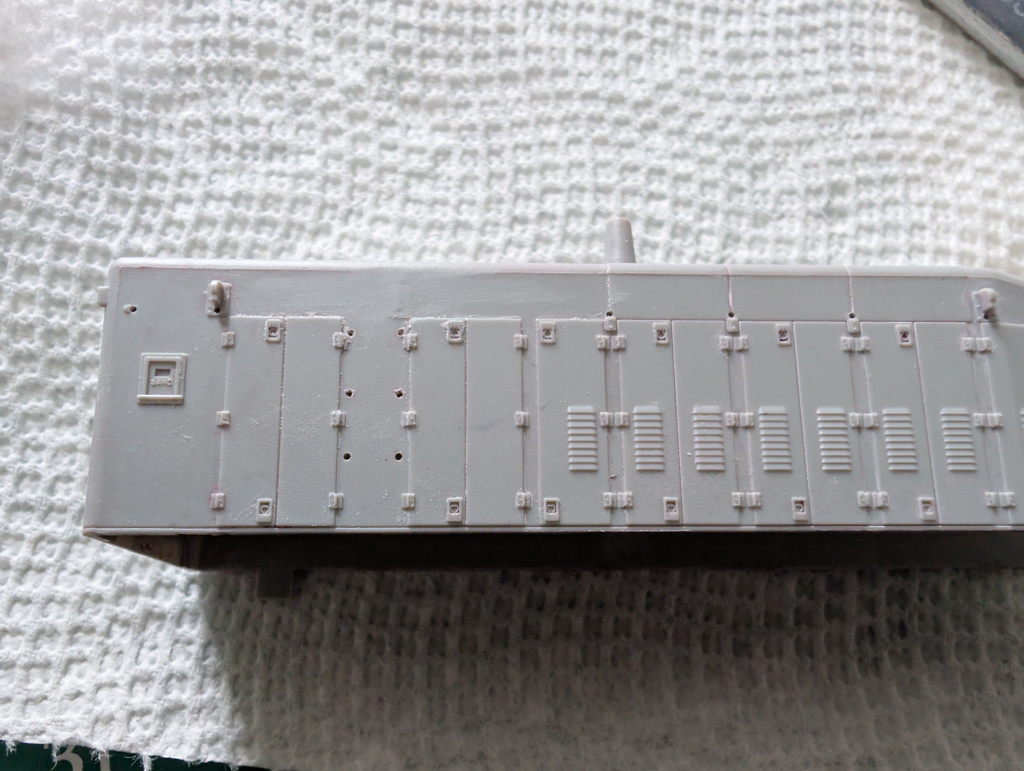
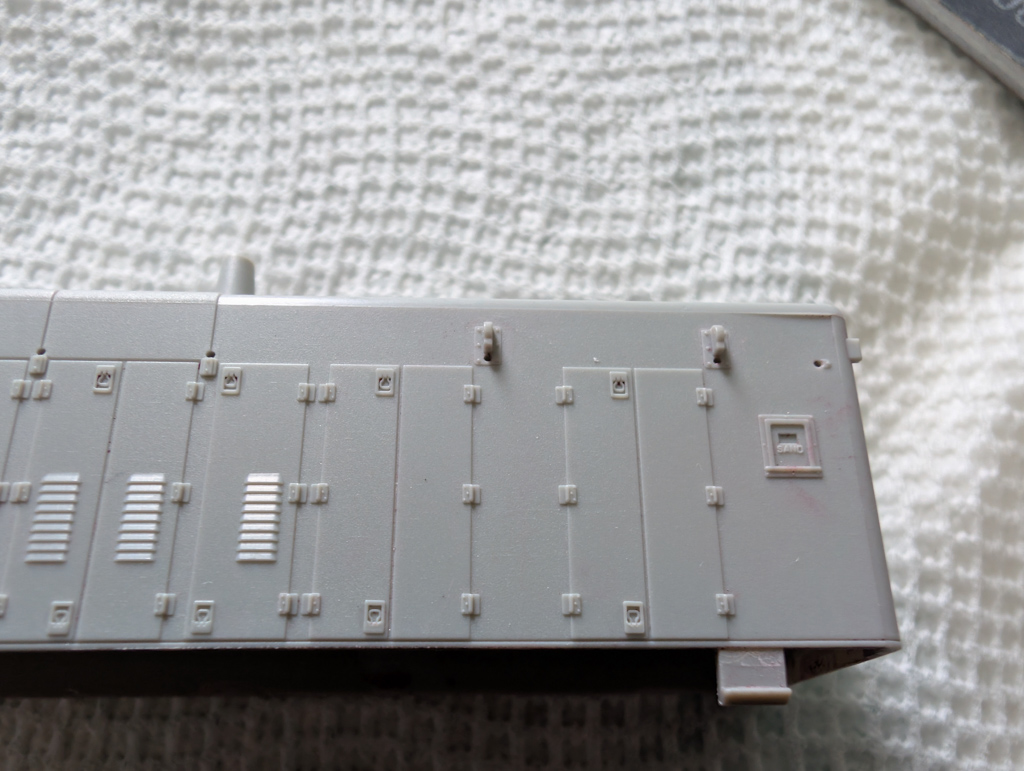
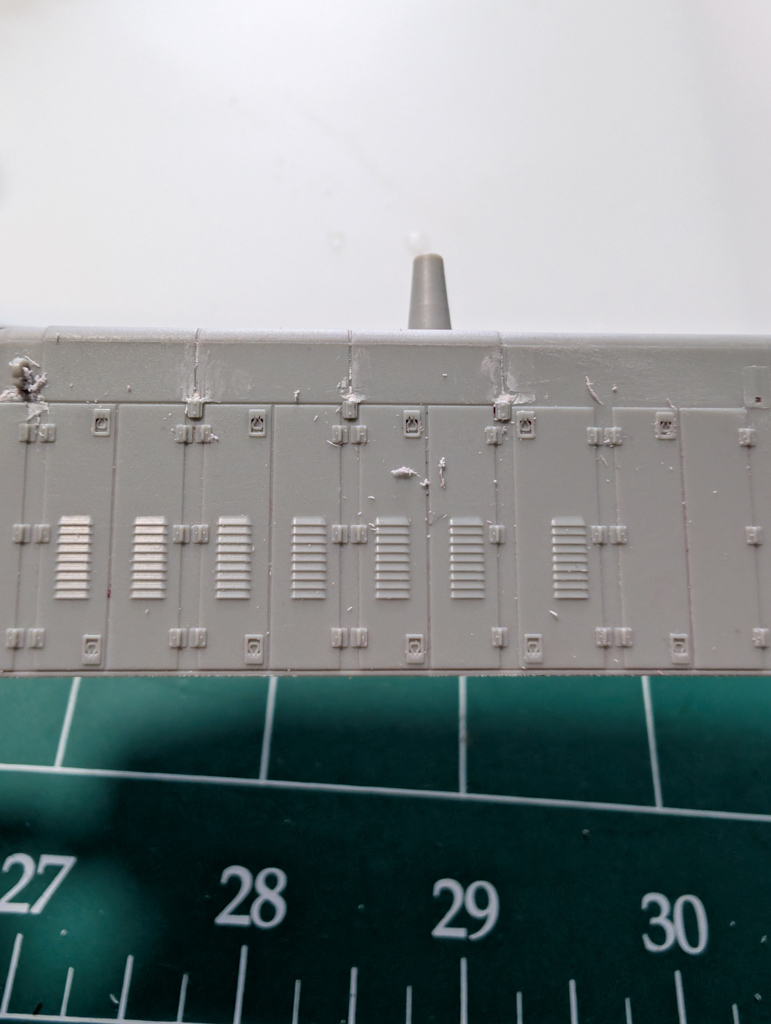
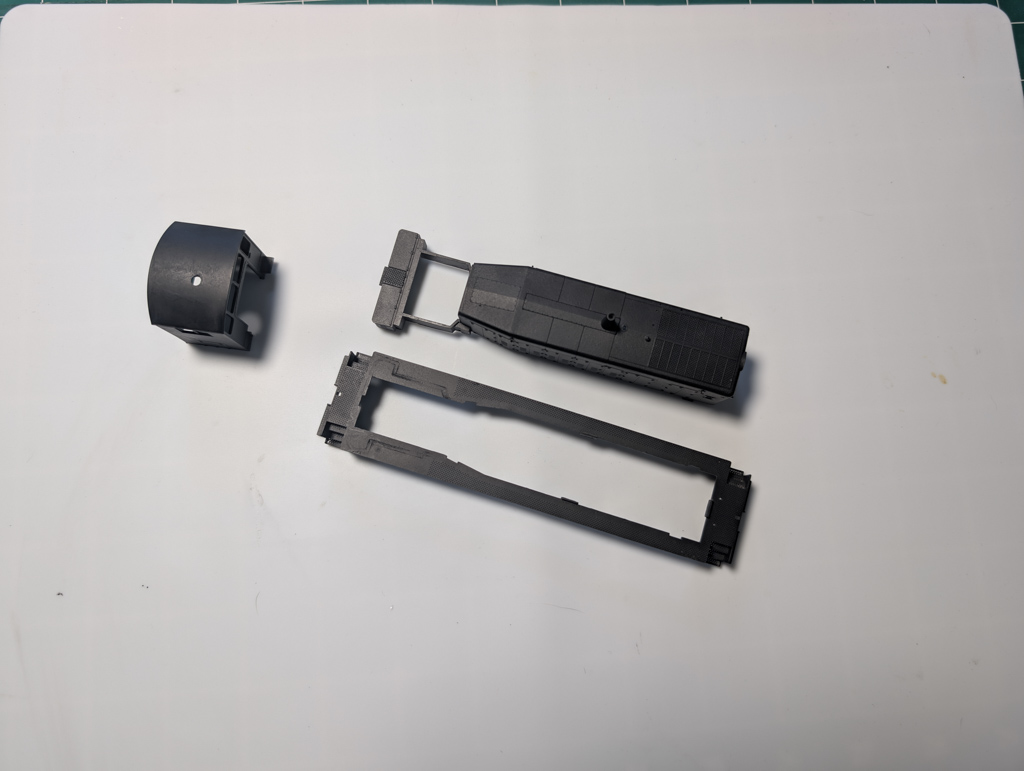
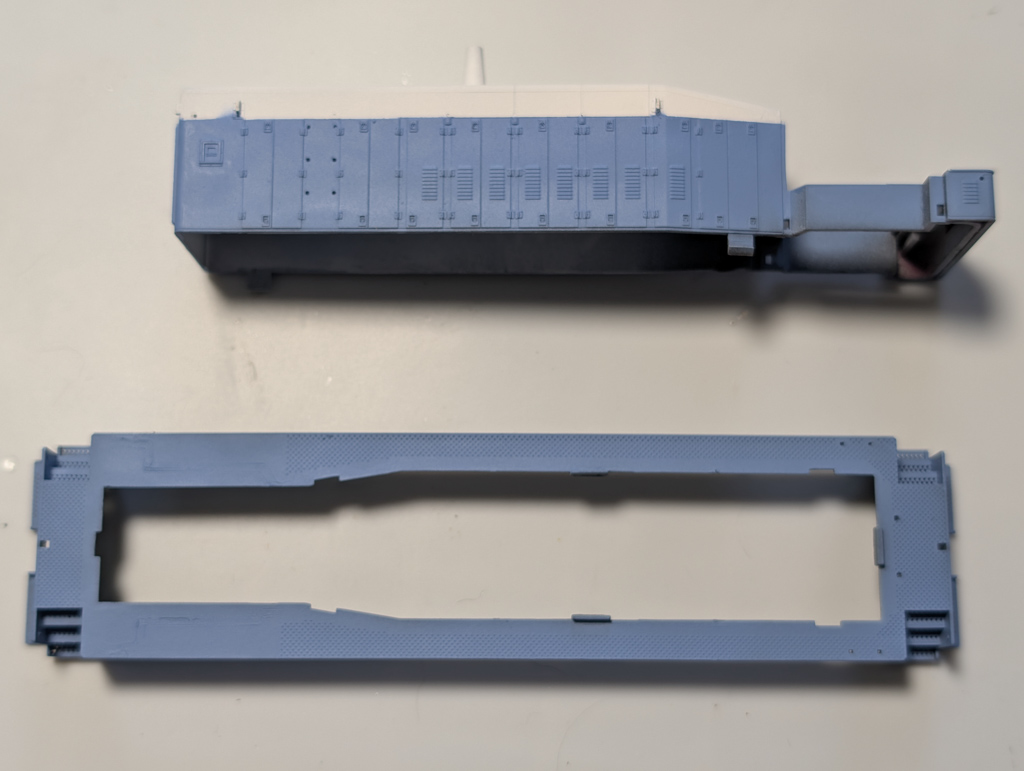
Before getting to the airbrush, I made a few changes to the shell itself. On the main body, I sanded off the center rail holder (at least, that’s what I think it was) to better match the prototype I’m working from. I also filled in the mounting holes since they won’t be used on this build. Small details like this help give it a cleaner, more intentional look.

Primer
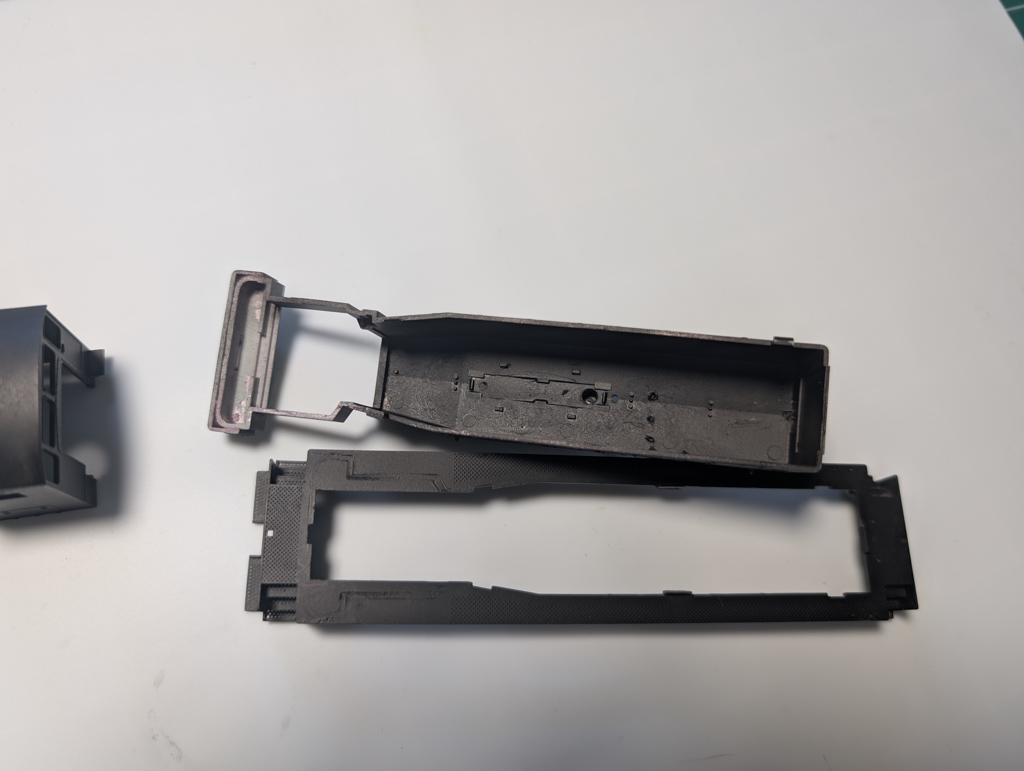
Once the filler dried and I cleaned up the area, I hit the body with black primer using my airbrush, both inside and outside. Now, I know the typical advice is to go with a lighter primer for lighter paint colors—to avoid them showing through. But I wanted to actually see where I was painting. Black primer gives me better contrast, and in this case, it also gives the model a slightly used look, which fits the vibe I’m going for. Bonus: the black helps cut down on light bleed from the LEDs that’ll be installed later.
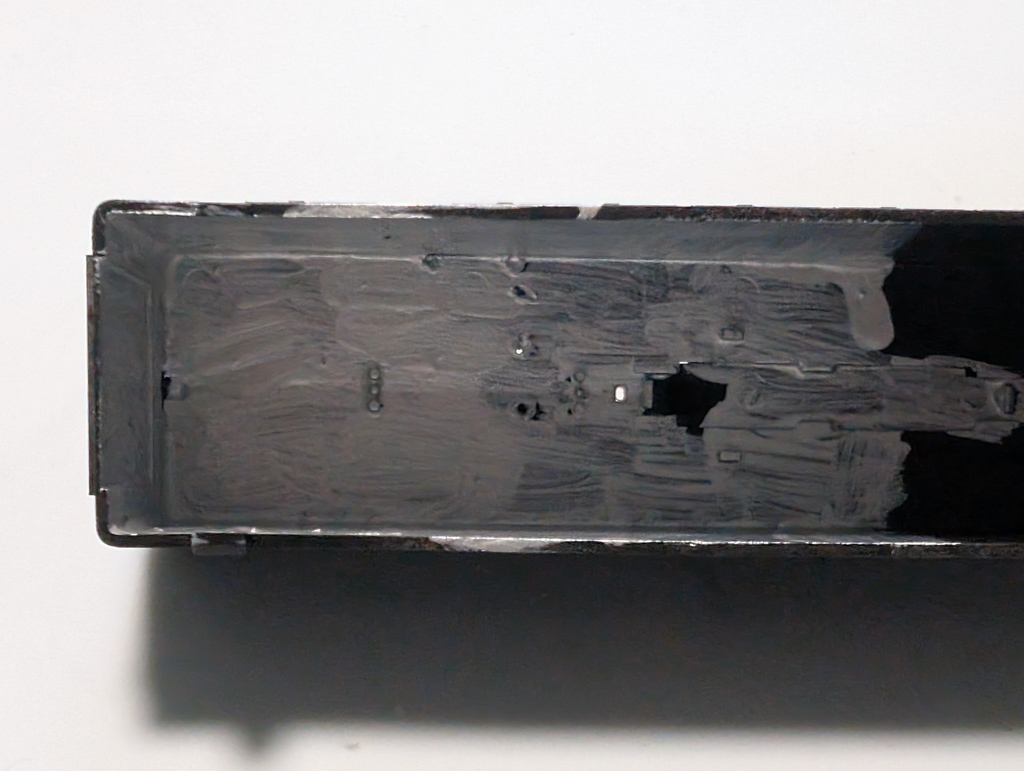
Putting A Stop to Light Leaks
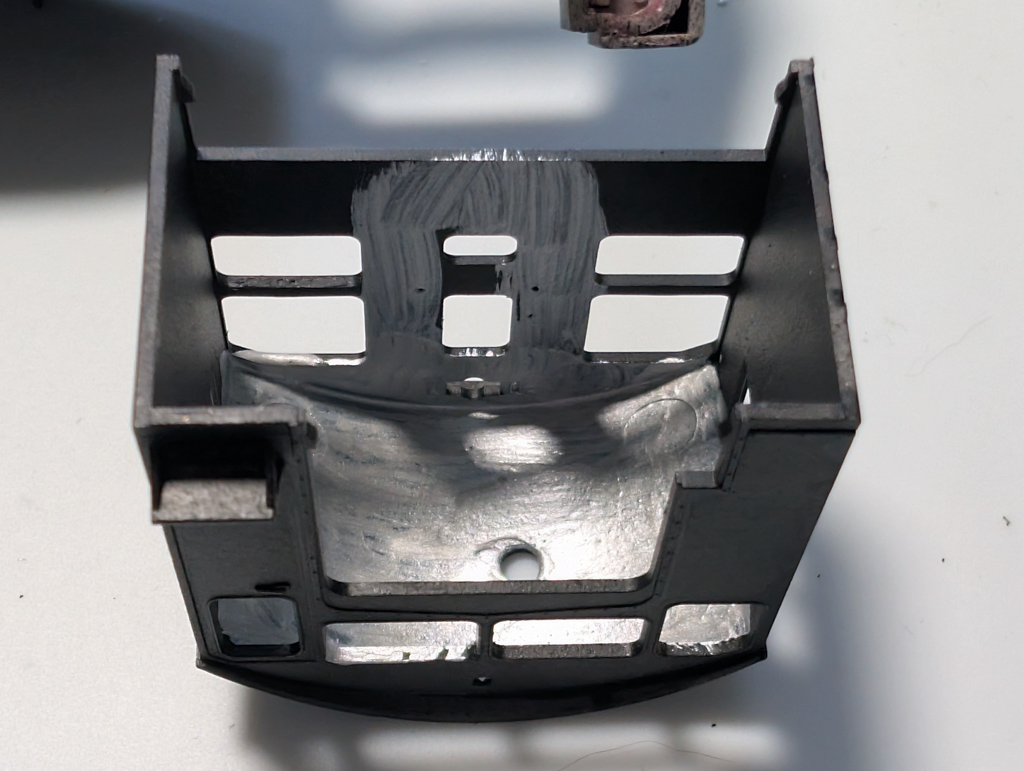
Speaking of light bleed, I took a step I haven’t always done in the past—I brushed a thick coat of silver paint on the inside of the shell and cab, including the light cover that fits into the cab roof. That silver acts like a shield, helping block light from bleeding through the thin plastic. If you’ve ever had LEDs light up the cab walls like a lantern, you know why this step matters.
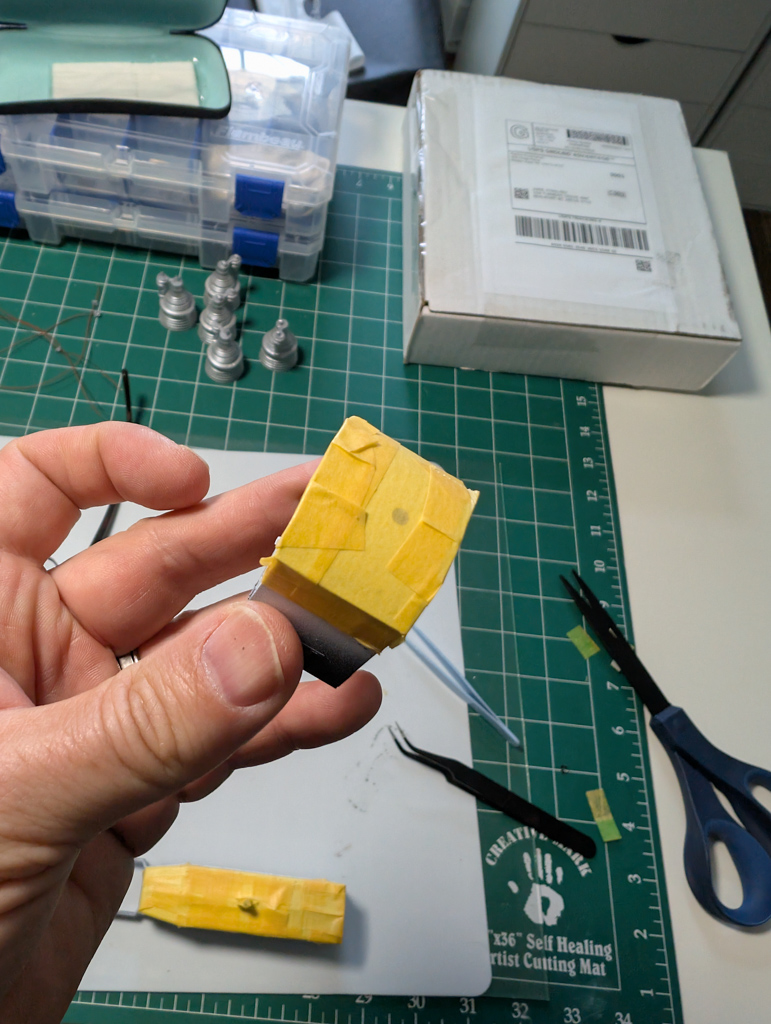
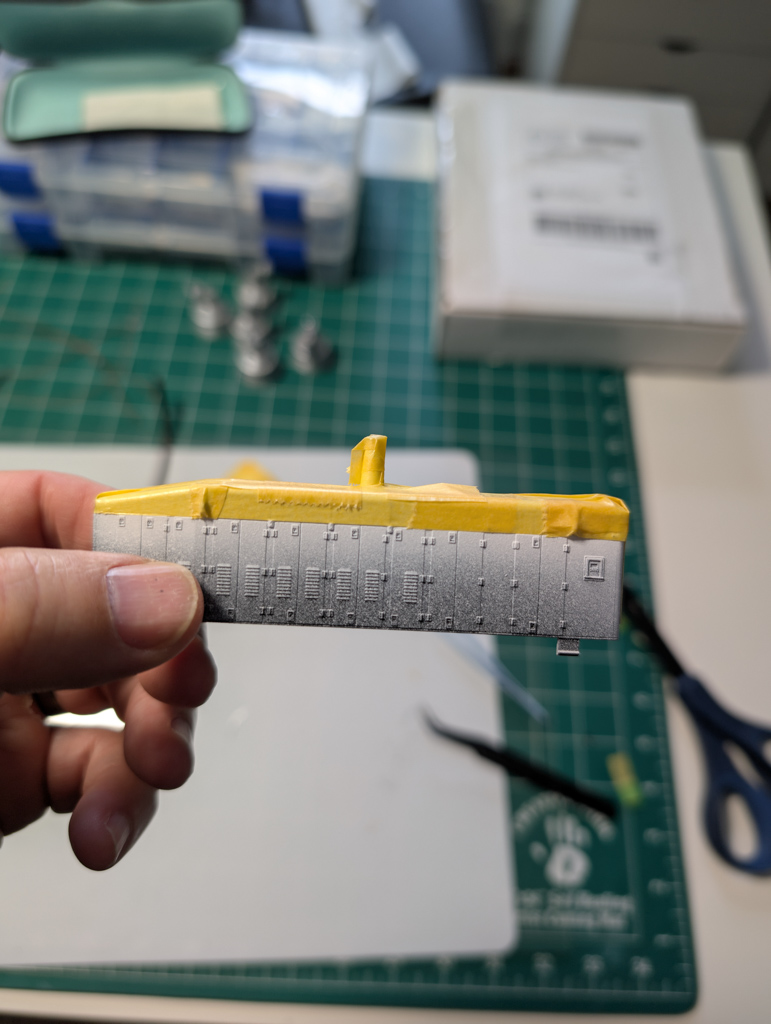
Painting
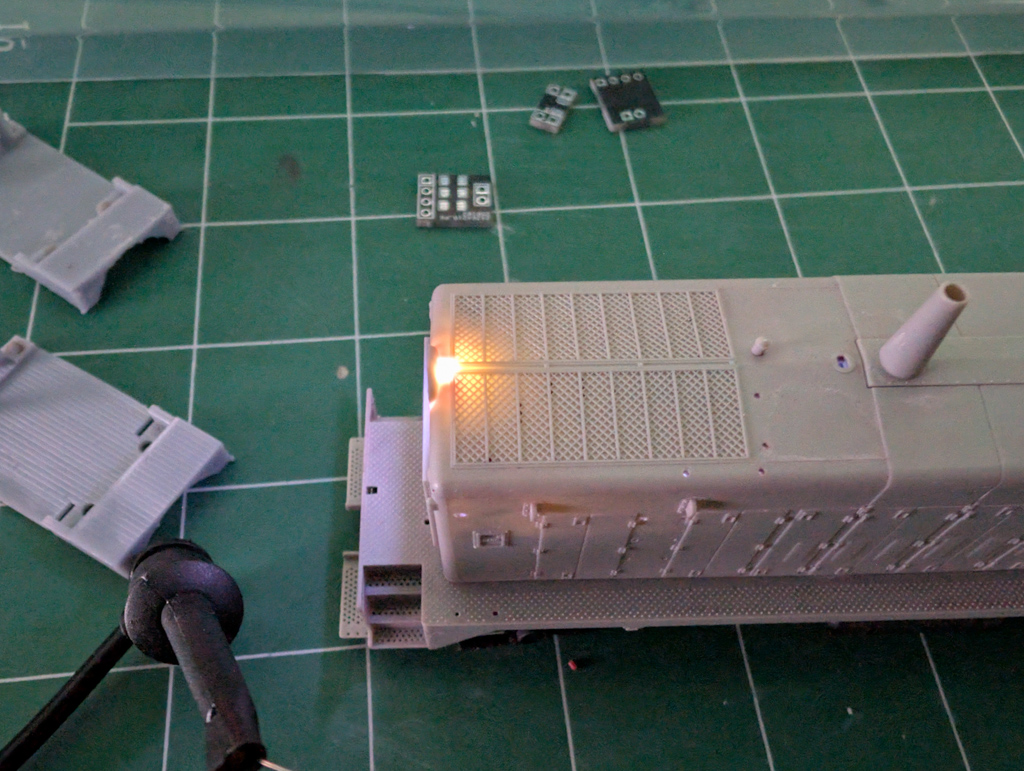
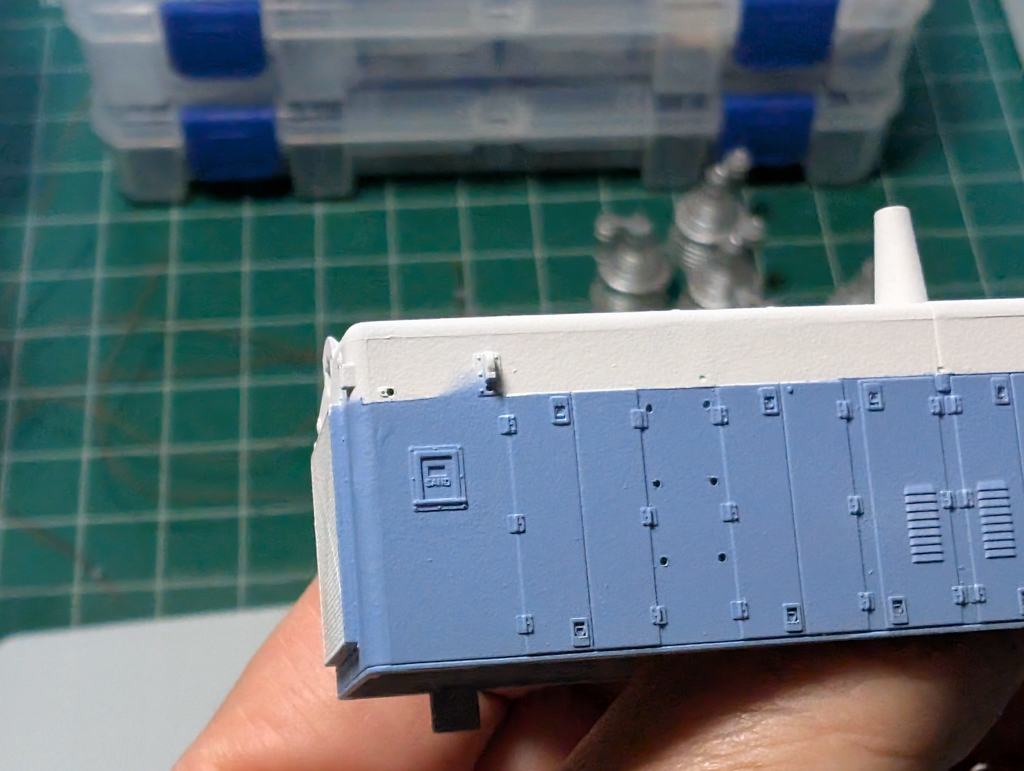
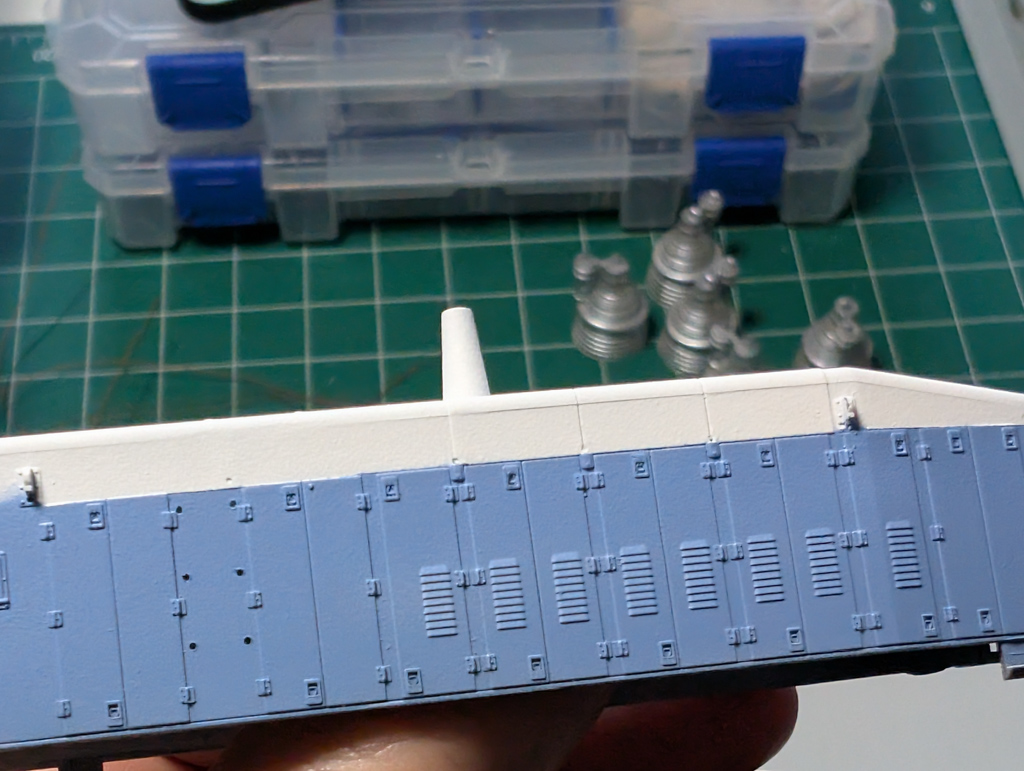
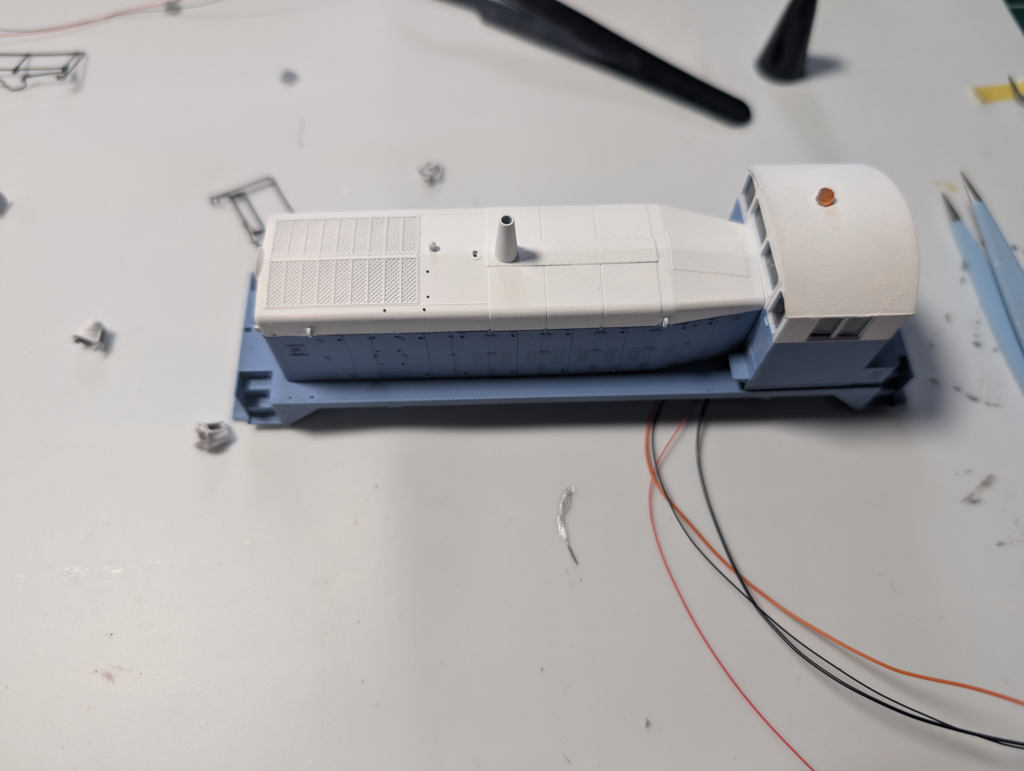
Next came the top coat of air white, airbrushed on once the primer dried. I didn’t get photos of that step (sorry, I got into the zone). After letting it cure for a full day, I masked off the top and laid down a coat of air blue for the lower section and walkways. The masking wasn’t perfect—I missed a couple of spots where the tape didn’t fully seal—but that’s nothing a fine-point brush can’t fix.
After everything dried, I sealed the paint with a coat of acrylic matte varnish to keep it all locked in and protected.

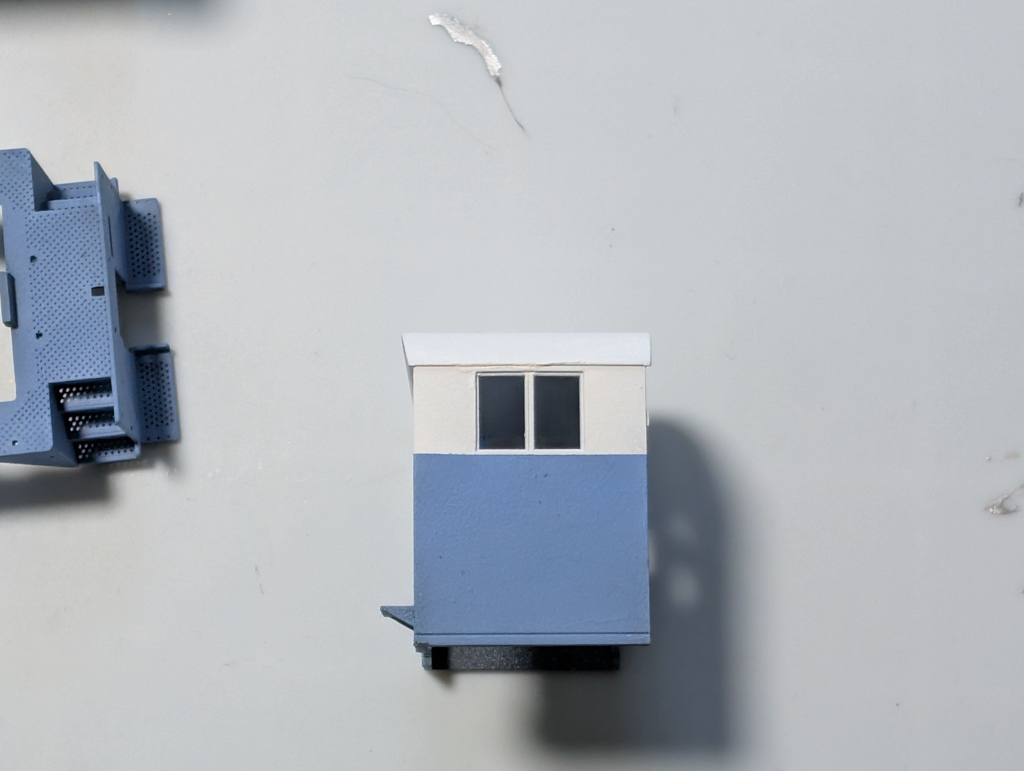

Coming Together
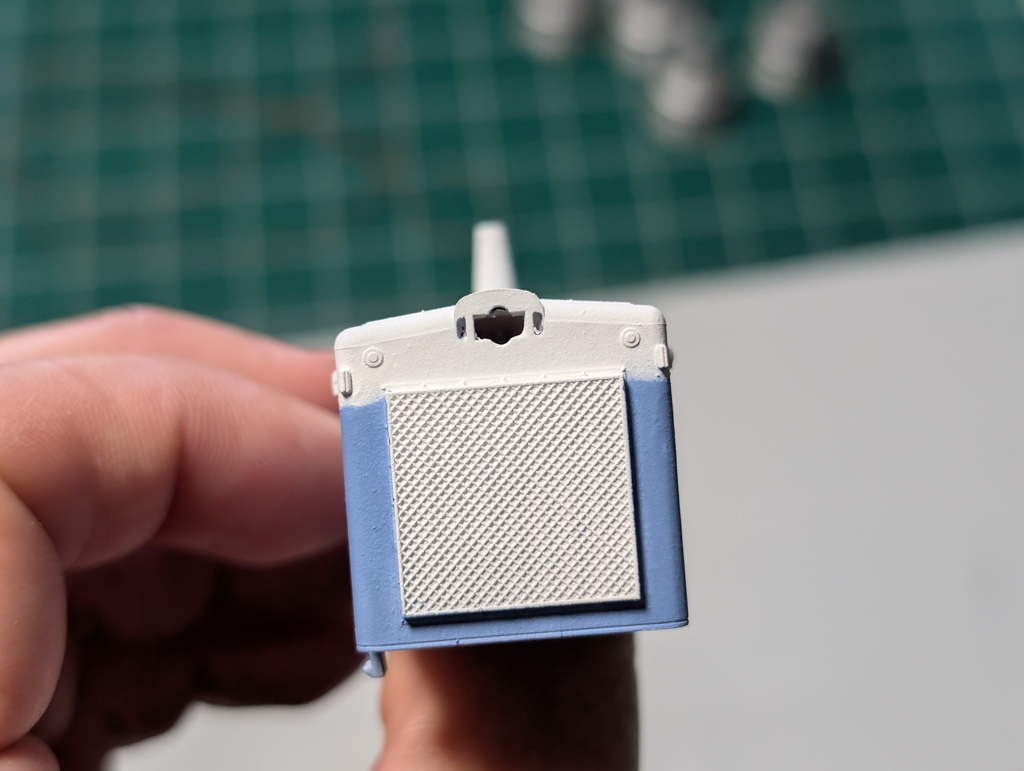
I then reassembled the body and installed the warning light and headlight into the top of the cab. All in all, I think it came out okay. There’s still a bit of a learning curve for me when it comes to using acrylic paints. I used to work exclusively with oil-based enamels back in the day, and acrylics definitely behave differently—faster drying, for one. I feel like the surface looks a little rough up close, but maybe that’s just me being picky. Most folks probably won’t notice. Either way, it’s good enough for now—and that’s progress.
What’s Next For The KNR90?
Next up? The body goes onto the chassis, and I’ll be wiring up the ditch lights and hooking everything up to the DCC decoder. We’re getting close to the finish line—stay tuned.
Articles in This Series
- Restoring & Upgrading a Proto 2000 SW900 – The KNR 90 Rebuild : Overview
- Restoring & Upgrading a Proto 2000 SW900 – The KNR 90 Rebuild : History
- Restoring & Upgrading a Proto 2000 SW900 – The KNR 90 Rebuild : Tear Down
- Restoring & Upgrading a Proto 2000 SW900 – The KNR 90 Rebuild : Paint Removal
- Restoring & Upgrading a Proto 2000 SW900 – The KNR 90 Rebuild : AAR Type A Trucks Replacement
- Restoring & Upgrading a Proto 2000 SW900 – The KNR 90 Rebuild : DCC Decoder Install
- Restoring and Upgrading a Proto 2000 SW900 – The KNR 90 Rebuild – Painting
- Restoring & Upgrading a Proto 2000 SW900 — The KNR 90 Rebuild: Final Wiring and Ditch Lights