Inspiration and Prototype Research
Quick Upgrade: Transform Your SW1200 with Snap-On Roller Bearing Trucks
Table of Contents
Watch Along: Snap-On Side Trucks Transform This SW1200
Quick Upgrade: Transform Your SW1200 with Snap-On Roller Bearing Trucks
Sometimes all it takes is a simple upgrade to remind you why you love this hobby. In this video, I walk you through replacing the side trucks on my SW1200 switcher with custom 3D-printed roller bearing versions—no glue, no special tools, just a satisfying “snap” and a fresh new look. Whether you’re just starting out or have been at this for decades, it’s amazing how these little changes breathe life back into your models.
There’s a certain magic in taking something old and worn and giving it a second chance to shine. That’s exactly what I set out to do with my SW1200 switcher. Over time, the factory friction side trucks dated this locomotive. It doesn’t fit in with the more modern upgraded look I am going for on my layout. Thus the main reason to replace them with roller bearing side trucks, to give this older loco and more modern upgraded feel.
In the last video, I cleaned everything up and got it ready for an upgrade. This time, I’m swapping out the old trucks for 3D-printed roller bearing versions designed specifically for this model. What I love about this process is how straightforward it is. You don’t need a workbench full of specialty tools—just a steady hand, a pair of tweezers, and maybe a cup of coffee to keep you company.
The swap is almost deceptively simple. You line up the holes, press the trucks into place, and with a gentle squeeze of the tweezers, they click in securely. No glue. No fuss. Just that satisfying moment when you realize your old switcher suddenly looks like it rolled fresh out of the rebuild shop.
And here’s the thing—if you’re new to the hobby, upgrades like this can feel intimidating. Maybe you’ve seen perfectly weathered locomotives online or watched people do complex DCC installs and thought, I could never pull that off. But the truth is, you don’t have to do it all at once. You can start with small steps, like this. Clean a few parts. Swap a detail. Test the wheels. And each little success builds confidence for the next project.
I’ll be finishing up this rebuild soon, including cleaning out the extra oil that’s been hiding behind the trucks and preparing for DCC installation. If you’re curious about how this process unfolds or just want a bit of encouragement to start your own project, stick around. I appreciate everyone who’s joined me on this journey.
And remember, no matter where you are in your model building path, there’s always something new to learn, tweak, and improve. Sometimes, it really is as easy as a snap.
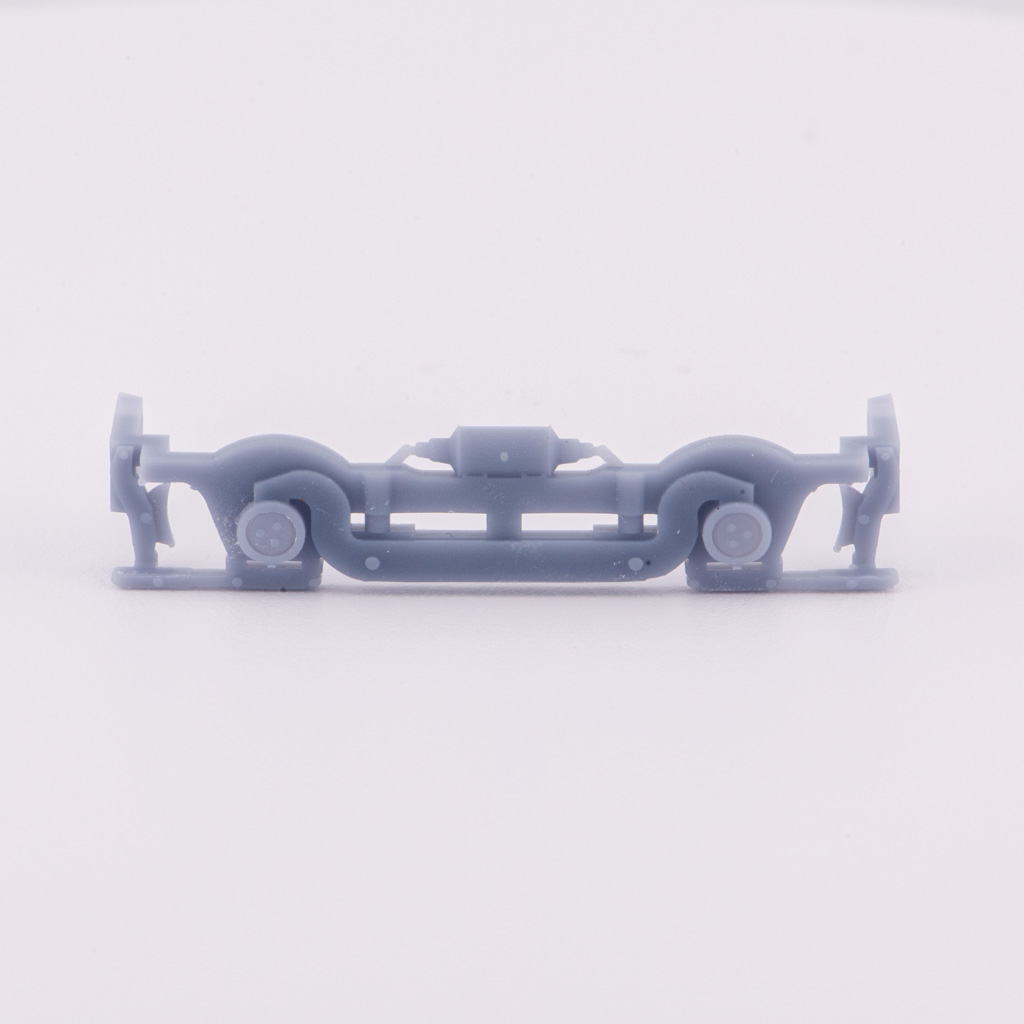
Here are the Side Trucks I used – Available in my train shop.
HO Scale AAR Type A Roller Bearing Trucks for Proto2000 SW Switchers (Set of 4)