
Inspiration and Prototype Research
Installing a Warm White LED in the FEC 1200 Cab Unit
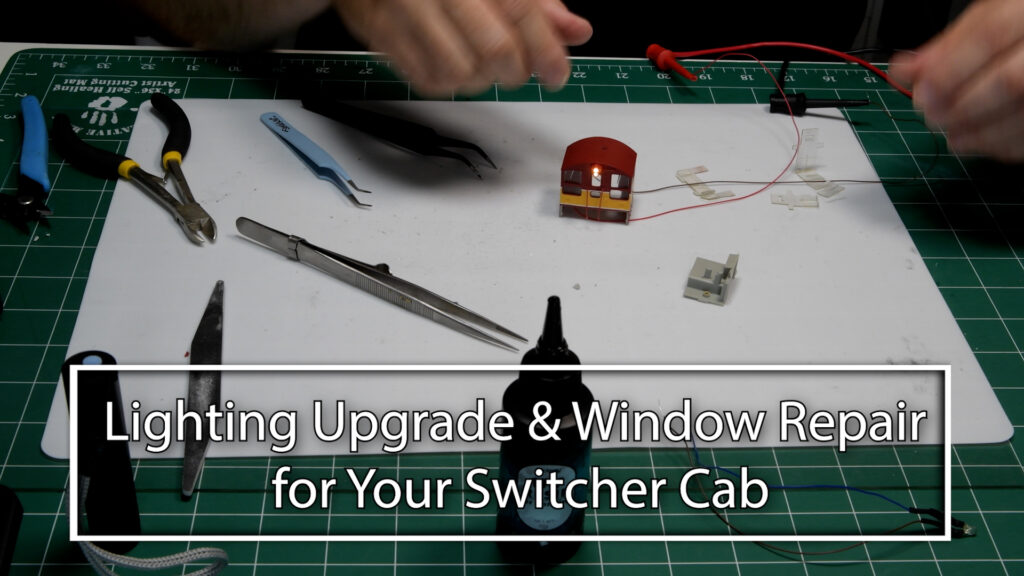
Table of Contents
Watch Along: Mounting LEDs in the Florida East Coast Switcher Cab
Adding LEDs to the Cab of an HO Scale Switcher
In this step of the Florida East Coast switcher project, I mounted LEDs inside the cab unit. The goal was to get the forward-facing headlight in place using UV resin for a strong, quick bond while making sure everything fit correctly. This process took a little patience and adjusting, but the results came out solid.
Mounting the LED in the Cab
I started by working with the cab unit from the FEC 1200 switcher. The LED needed to sit in the section that directs light toward the headlight. Initially, I tried wearing gloves since I was using UV resin, but they made it difficult to work with the small parts—so I ended up removing them.
To make space for the LED, I trimmed away a section of the plastic that was originally designed for the incandescent bulb. Using plastic snips and a file, I reshaped the area so the LED would fit snugly. Once the LED was in the right position, I secured it with a drop of UV resin and hardened it with a UV light. This stuff sets fast—about 30 seconds—and holds strong.
Testing and Adjusting Fit
Once the LED was secure, I checked the alignment. It’s important that the LED faces outward toward the back of the cab to properly illuminate the headlight. After some adjustments, everything lined up, and I gave it a quick test—it lit up just as expected.
Reassembling the Cab
With the LED in place, I routed the wires through the built-in grooves to keep them hidden and neat. I then reinstalled the side and rear glass pieces, using more UV resin where needed for repairs. This step took some patience since the parts didn’t want to cooperate at first, but eventually, everything lined up.
Mounting the Cab to the Body
Once the cab was reassembled, I attached it back to the main body of the locomotive, making sure the wires were routed cleanly and everything snapped into place.
Wrapping Up This Step
At this point, the cab-mounted LED was fully installed and tested. Next up will be installing the LEDs inside the locomotive body and finalizing the wiring when the DCC decoder arrives.
Final Thoughts
This part of the build took some patience, but the results are worth it. Sometimes it’s about slowing down, stepping back, and coming at it again when things don’t line up right away.
Have you tried adding LEDs to your locomotives? What challenges have you run into? Share your experiences or questions in the comments—I’d love to hear from you.