Inspiration and Prototype Research
Restoring & Upgrading a Proto 2000 SW900 – The KNR 90 Rebuild : AAR Type A Trucks Replacement
Table of Contents
As part of the KNR 90 rebuild, I replaced the stock friction-bearing trucks on my Proto 2000 SW900 with 3D printed roller-bearing versions, modeled after AAR Type A trucks. In this post, I share why the change matters, some railroad history behind it, and what it took to get the fit just right.
Restoring & Upgrading a Proto 2000 SW900 – The KNR 90 Rebuild : AAR Type A Trucks Replacement
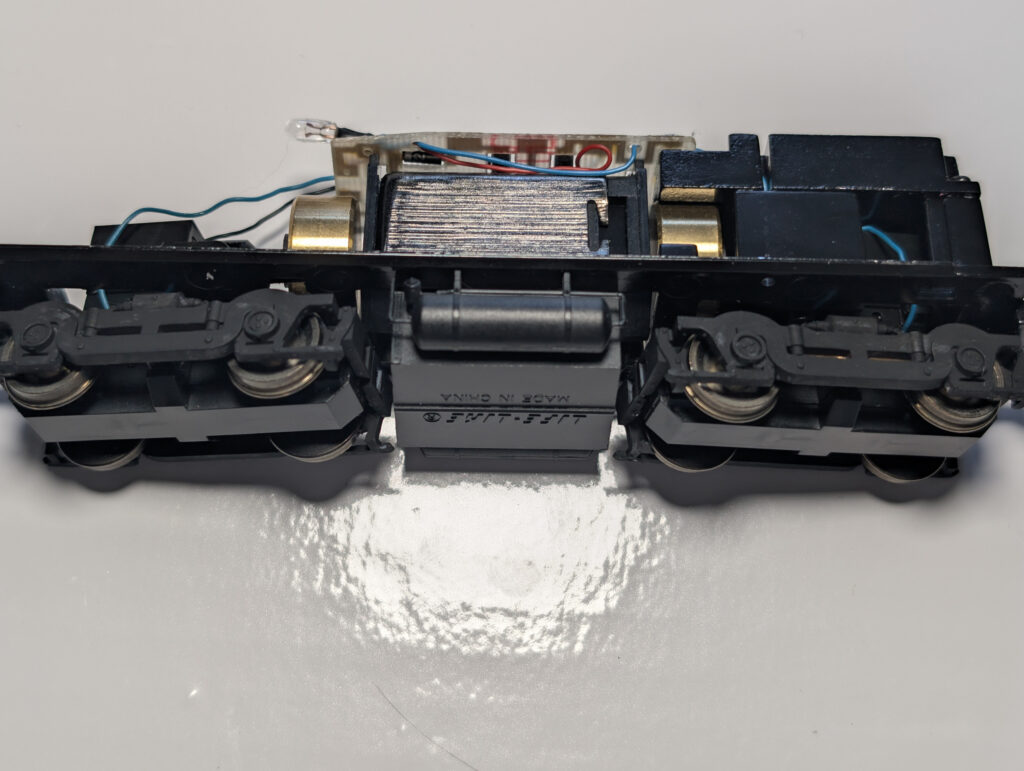
Next up in the rebuild—swapping out the trucks. The stock ones on the Proto 2000 SW900 came with friction bearings, which were standard back when these locomotives were first built. But over the years, most real-life rebuilds have upgraded these to roller bearings, so I wanted to do the same for my model.
A Little Background on Roller Bearings
In the early days of railroading, locomotives and freight cars used what are called friction—or plain—bearings. They needed a lot of maintenance and had a tendency to overheat, which is where the term “hot box” came from.
Roller bearings started showing up in the 1920s and were a big improvement. They cut down on friction, held up better over time, and didn’t require as much upkeep. By 1968, any new freight cars had to use roller bearings. Then by 1994, friction bearings were fully phased out for interchange service across North America.
Locomotives followed the same general path. When older units were rebuilt, roller bearings became the standard, not just for performance but to keep up with the times.
3D Printed Replacements
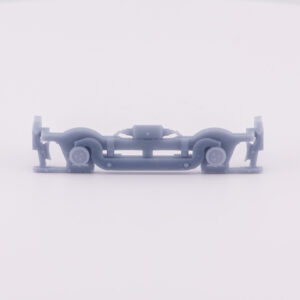
To match the look of KNR 90, I designed and 3D printed new roller-bearing side frames based on AAR Type A trucks. They’re a direct swap for the originals. As far as I know, they’ll only fit Proto 2000 switchers—but if that’s what you’re working with, these should drop right in. I’ll be adding them to my shop soon for anyone who wants to try the same upgrade.
You’ll see in the pictures—I went through a good number of test prints before I got a version I was happy with. The main thing was making sure they didn’t bind the wheels and stayed square once installed. It took a little back and forth, but I learned a lot, and now I’ve got a box full of trial parts I can reuse for layout details or scrap scenes.
Final Touches
The finished trucks got a coat of flat black paint for now. Once the rest of the model is farther along, I’ll come back and weather them to match the look I’m going for.
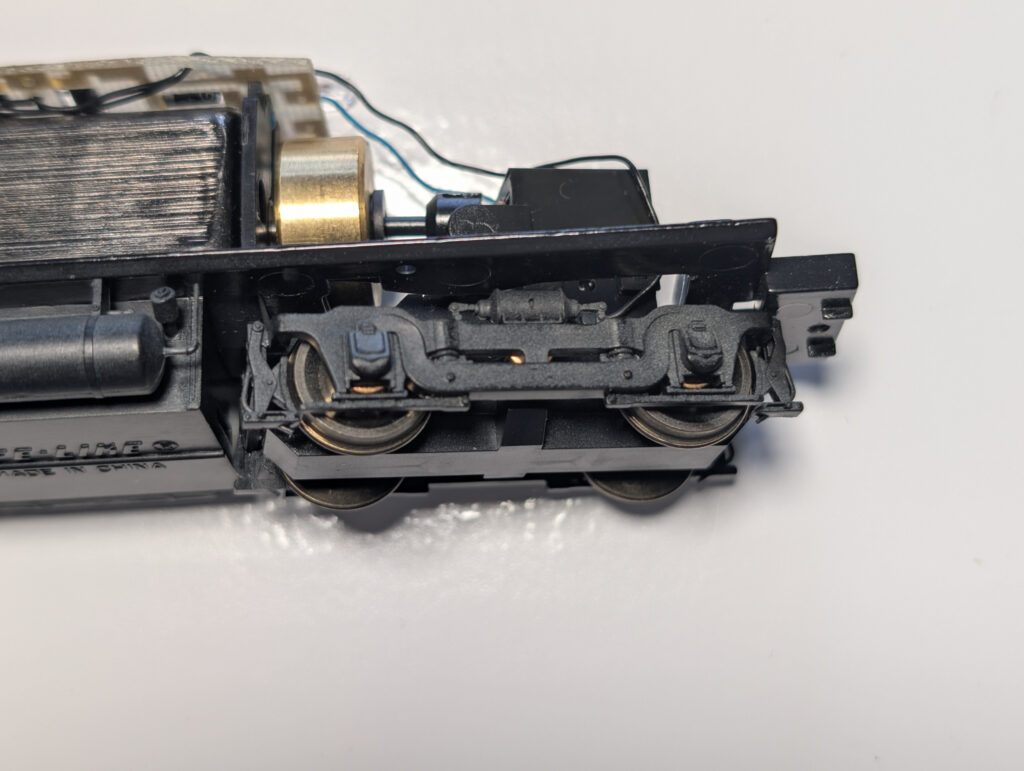
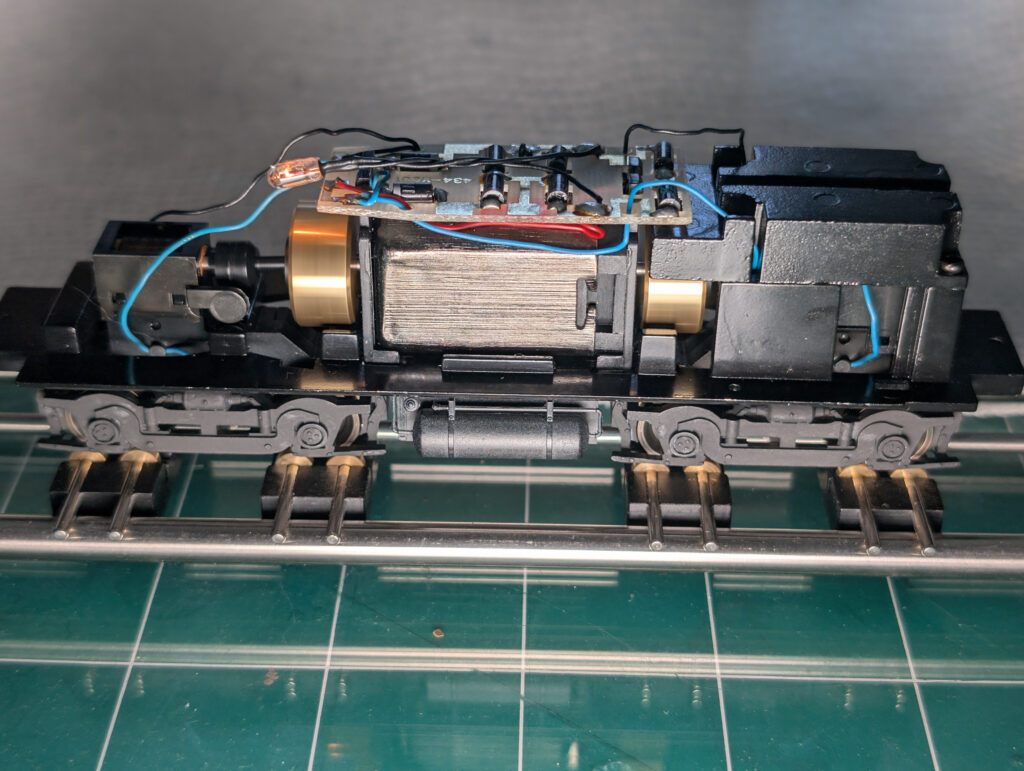
Swapping the trucks was simple. I popped the old ones off and snapped the new ones on, checking everything lined up. It’s a small change, but one that adds some realism and brings the model closer to what you’d see out in the real world.
AAR Type A Roller Bearings Before Sanding and Painting
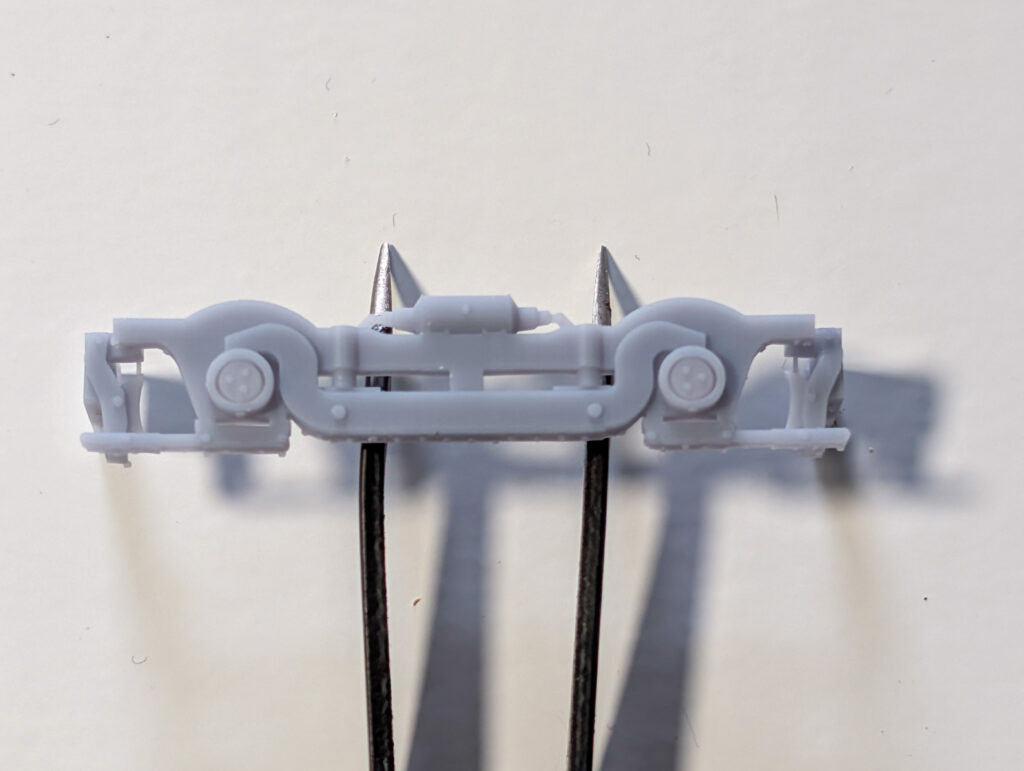
Old Verse New
Pile O-Trucks – Going to use for scape scenes
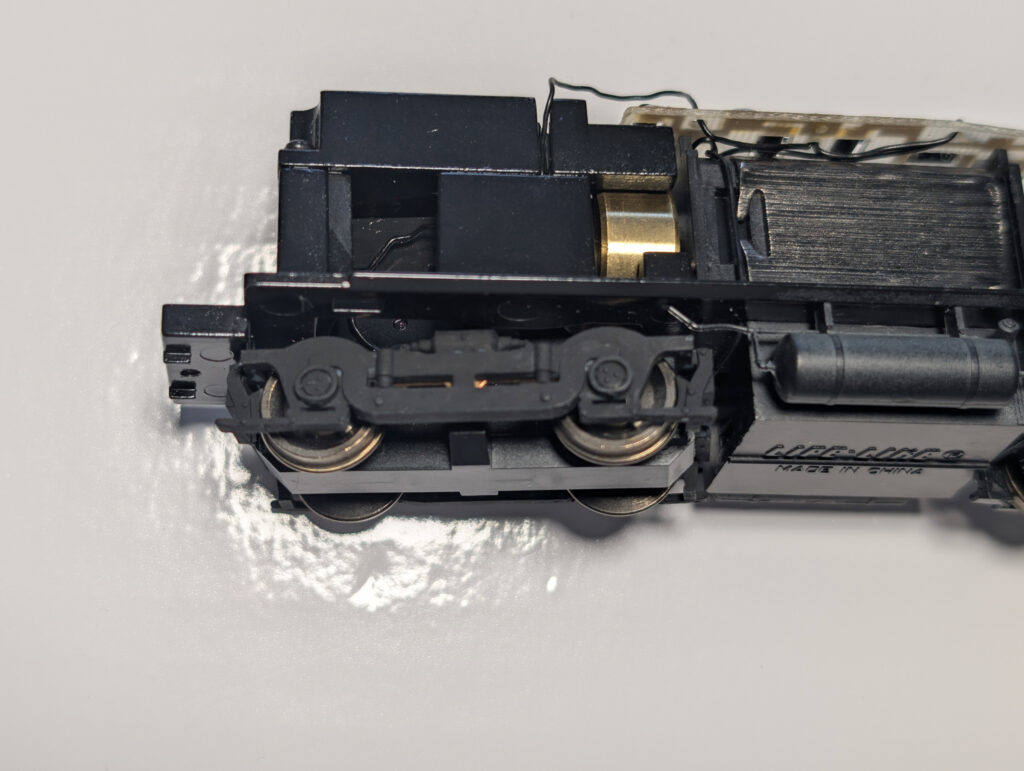
Test Run with The New Roller Bearing Trucks
What’s Next?
Next up, I’ll lubricate the model and install the DCC decoder.
Stay tuned for the next step in bringing this little switcher back to life.
Articles in This Series
- Restoring & Upgrading a Proto 2000 SW900 – The KNR 90 Rebuild : Overview
- Restoring & Upgrading a Proto 2000 SW900 – The KNR 90 Rebuild : History
- Restoring & Upgrading a Proto 2000 SW900 – The KNR 90 Rebuild : Tear Down
- Restoring & Upgrading a Proto 2000 SW900 – The KNR 90 Rebuild : Paint Removal
- Restoring & Upgrading a Proto 2000 SW900 – The KNR 90 Rebuild : AAR Type A Trucks Replacement
- Restoring & Upgrading a Proto 2000 SW900 – The KNR 90 Rebuild : DCC Decoder Install
- Restoring and Upgrading a Proto 2000 SW900 – The KNR 90 Rebuild – Painting
- Restoring & Upgrading a Proto 2000 SW900 — The KNR 90 Rebuild: Final Wiring and Ditch Lights